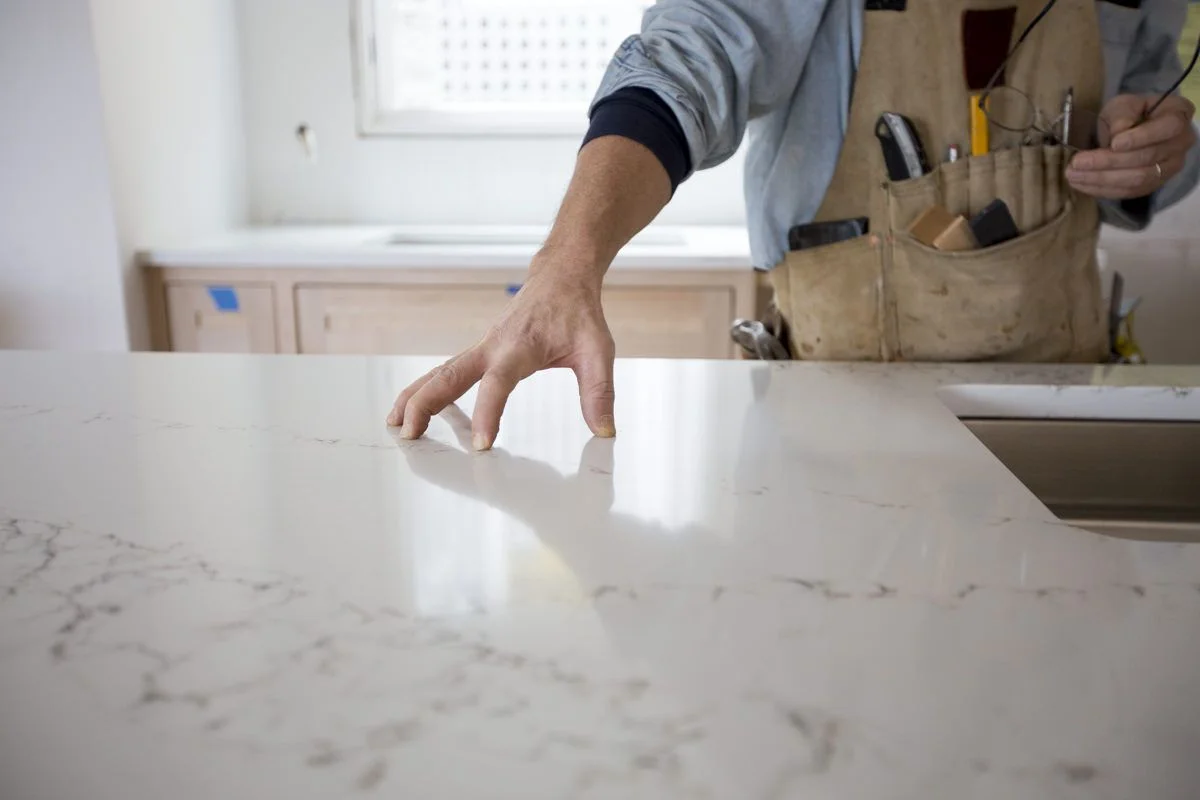
A tiny chip on a quartz countertop can feel like a dagger in an otherwise flawless kitchen. Luckily, most chips are simple to repair at home, with the right supplies and a bit of patience. This step-by-step guide explains how to fix a chip in a quartz countertop, which repair method to pick, and how to keep future damage at bay.
Table of Contents
- Fast Facts: Can You Really Repair Quartz Chips at Home?
- Things You’ll Need
- Step-by-Step Instructions
- Repairing Minor Chips with Clear Adhesive
- Patching Surface Chips with Color-Matched Caulk
- Using a UV Light-Cure Quartz Repair Kit
- Repairing Minor Chips with Clear Adhesive
- After-Care: Sanding, Polishing, and Blending
- Preventing Future Cracks and Chips
- Expert Q&A
- Tips & Warnings
- Final Thoughts
Fast Facts: Can You Really Repair Quartz Chips at Home?
| Damage Size | DIY Success Rate | Recommended Method |
| Pin-size pits | 95 % | Clear adhesive or acrylic filler |
| Edge chips ≤ 6 mm (¼ in.) | 90 % | UV light-cure kit or tinted epoxy |
| Corner breaks / cracks | 50 % | Professional stone technician |
| Spider-web fractures | 30 % | Full slab replacement or pro repair |
Key takeaway: If the chip is no bigger than a pencil eraser and doesn’t extend into a seam, a homeowner can usually handle the fix in a single afternoon.
Things You’ll Need
- Quartz chip-repair kit (clear epoxy or UV-curable acrylic)
- Color tints (if your quartz has bold veins or speckles)
- Single-edge razor blades
- 400- and 600-grit wet/dry sandpaper
- Isopropyl alcohol (90 % or higher)
- Lint-free cloths or microfiber towels
- Blue painter’s tape
- Nitrile gloves and protective eyewear
- UV lamp (for light-cure products) or direct sunlight
Step-by-Step Instructions
Repairing Minor Chips with Clear Adhesive
- Clean the Area
Wipe the chip and the surrounding surface with isopropyl alcohol. Remove crumbs, oil, and dust—any residue will keep the filler from bonding. - Mask the Surroundings
Run painter’s tape around the chip. This protects adjacent quartz from overflow and saves sanding time later. - Prepare the Adhesive
Most clear epoxies combine two parts: resin and hardener. Mix equal drops on a disposable card until the color turns uniform. - Fill the Chip
Use a toothpick to push adhesive into the cavity. Over-fill by a hair; the resin shrinks slightly as it cures. - Cure
Follow your kit’s timing. Standard epoxies harden in 12–24 hours at room temperature. Do not rush; a half-cured filler will peel out under the razor blade.
Patching Surface Chips with Color-Matched Caulk
Quartz lines such as Calacatta or Statuario often feature dramatic veins. A color-matched silicone can help blend tiny surface chips.
- Purchase a quartz-specific silicone from your fabricator or hardware store.
- Clean and dry the chip.
- Apply a small bead, then smooth with a gloved finger.
- Let it cure (usually 24 hours).
- Remove excess with a razor at a shallow angle.
Using a UV Light-Cure Quartz Repair Kit
If you want nearly invisible results on an edge chip, a light-cure kit is your best friend.
- Prep – Clean and tape as above.
- Dispense resin – Squeeze the premixed acrylic until the cavity is full.
- Add tints – For patterned quartz, swirl tiny amounts of pigment through the filler.
- Exposure to UV – Place the lamp one inch above the chip for 60–120 seconds, or move the counter under bright sunlight for 15–20 minutes.
- Level – Once hard, shave flush with a new razor.
- Polish – Wet-sand 400-grit, then 600-grit, wiping often. Buff with a microfiber cloth for a factory-like finish.
After-Care: Sanding, Polishing, and Blending
- Sanding strokes – Keep the paper flat; tilting can gouge the filler.
- Water trick – A light mist reduces heat and prevents white scratch marks.
- Final buff – Apply a quartz-safe polish to match surface gloss. Avoid waxes—they collect grime over time.
Preventing Future Cracks and Chips
- Use cutting boards—never chop directly on stone.
- Add silicone mats under small appliances to cushion vibration.
- Install soft-close hinges so cabinet doors don’t bang quartz edges.
- Mind the heat—rapid temperature swings can stress the resin binders. Always place hot pans on trivets.
- Re-seal seams every two to three years with clear silicone to block moisture that weakens joints.
Expert Q&A
Q: Will a DIY quartz repair darken or yellow over time?
A: High-quality UV-stable acrylics stay clear for decades. Cheap epoxies can amber, especially in direct sunlight. Stick to stone-rated brands.
Q: Can I use super glue instead of a quartz repair kit?
A: Super glue dries brittle. It may hold a day or a year, then pop out with temperature changes. Two-part epoxy or UV acrylic bonds better and flexes with the countertop.
Q: Do I have to reseal the entire countertop after a chip fix?
A: Quartz is non-porous, so sealants aren’t needed. A light polish is enough to restore shine.
Tips & Warnings
Tips
- Test the color on wax paper before filling the chip.
- Over-filling is safer than under-filling; you can always scrape excess.
- Replace dull razor blades often—sharp edges level resin faster and cleaner.
Warnings
- Work in a ventilated area; epoxy fumes can irritate lungs and eyes.
- Never point a UV lamp at skin—it can cause burns.
- Don’t sand beyond the repair zone; aggressive sanding dulls factory polish.
Final Thoughts
Repairing a chip in quartz isn’t complicated, but it does demand care. Clean prep, precise filling, and patient curing are the secrets to an invisible patch. For deeper fractures or edge breaks larger than a nickel, call a certified stone technician—saving the slab is cheaper than replacing an entire countertop.
Follow these guidelines, and your quartz surface will look flawless again, ready to handle daily cooking, family gatherings, and every moment in between.


