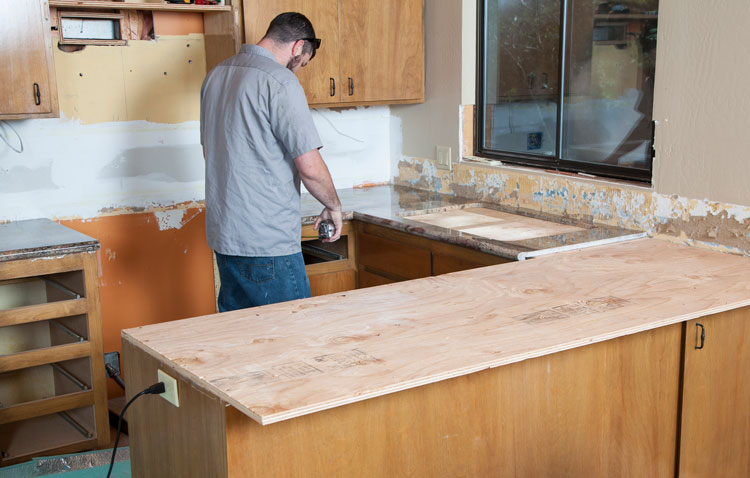
Drilling into a quartz countertop may seem intimidating—and for good reason. Quartz is an extremely hard and dense material that doesn’t forgive mistakes easily. Whether you’re installing a soap dispenser, faucet, or wiring access, you need the right tools, precise planning, and a careful approach. In this comprehensive guide, we’ll walk you through the step-by-step process of drilling holes in quartz countertops safely and efficiently.
Table of Contents
- Introduction to Drilling Quartz Countertops
- Understanding the Risks of Drilling Quartz
- Tools and Materials You’ll Need
- How to Prepare Your Workspace
- Step-by-Step Process to Drill a Hole in Quartz
- Step 1: Measure and Mark Your Hole
- Step 2: Apply Masking Tape or a Template
- Step 3: Start with a Small Pilot Hole
- Step 4: Switch to the Diamond Core Bit
- Step 5: Lubricate the Drill Bit Frequently
- Step 6: Use Slow, Even Pressure
- Step 7: Reduce Speed Near the End
- Step 8: Clean the Area After Drilling
- Step 1: Measure and Mark Your Hole
- Safety Tips to Keep in Mind
- Can You DIY or Should You Hire a Pro?
- Common Mistakes to Avoid
- Frequently Asked Questions
- Conclusion
1. Introduction to Drilling Quartz Countertops
Quartz is a non-porous, engineered stone composed of about 90% crushed natural quartz crystals mixed with resins and pigments. This dense, durable structure makes quartz resistant to heat, stains, and scratches—but also extremely tough to drill through.
Because quartz is so hard, using the wrong tools or technique can cause cracks, chips, or even complete slab damage. That’s why planning and precision are critical.
2. Understanding the Risks of Drilling Quartz
Before you start drilling, it’s essential to understand the risks involved:
- Chipping or cracking: Applying too much pressure or drilling at the wrong angle can lead to fractures in the slab.
- Overheating: Without proper lubrication or speed control, drill bits can overheat and damage both the bit and the quartz.
- Costly mistakes: A damaged quartz countertop is difficult and expensive to repair.
For these reasons, drilling should only be done when necessary, and preferably by someone with the right tools and experience.
3. Tools and Materials You’ll Need
Here’s a checklist of what you’ll need to safely drill into a quartz countertop:
| Item | Purpose |
| Variable-speed drill | Controls drilling speed precisely |
| Diamond core drill bit (wet) | Designed for cutting through quartz without cracking |
| Spray bottle with water | Cools the bit and prevents overheating |
| Masking tape or a plastic template | Helps guide the drill and avoid slipping |
| Clamps (optional) | Secures the template if used |
| Safety gear | Safety glasses, gloves, and a mask for protection |
| Towel or sponge | To clean up slurry and water during drilling |
| Vacuum | To remove quartz dust post-drilling |
4. How to Prepare Your Workspace
Preparation is key. Before drilling:
- Clear the area: Remove nearby objects to avoid obstructions.
- Lay down a towel or pad: This helps prevent scratches or accidental tool drops from damaging the countertop.
- Check underneath the slab: Ensure there are no pipes, electrical wiring, or reinforcements where you plan to drill.
- Use painter’s tape or a drilling guide: It helps prevent bit slippage when starting your hole.
5. Step-by-Step Process to Drill a Hole in Quartz
Step 1: Measure and Mark Your Hole
Use a pencil or marker to mark the exact center of the hole you need carefully. Double-check measurements, especially for plumbing or appliance installations.
Step 2: Apply Masking Tape or a Template
Cover the marked area with painter’s tape. If you’re using a template or guide ring, secure it over the tape using clamps or adhesive.
Step 3: Start with a Small Pilot Hole
Attach a smaller diamond-tipped bit to your drill. Begin at a low speed, drilling vertically with light pressure, which gives the larger bit a clear path to follow.
Step 4: Switch to the Diamond Core Bit
Once your pilot hole is set, switch to the appropriate diamond core bit size. Keep your drill low to medium speed and ensure the bit is centered over the hole.
Step 5: Lubricate the Drill Bit Frequently
Spray water on the drilling area consistently. Water prevents heat buildup, which could crack the quartz or damage your bit.
Tip: Have a helper spray water while you drill for consistent cooling.
Step 6: Use Slow, Even Pressure
Let the bit do the work. Forcing the drill will only risk slab damage. Apply steady, moderate pressure, and avoid wiggling the drill from side to side.
Step 7: Reduce Speed Near the End
As you approach the other side of the quartz slab, slow down the drill. This reduces the risk of blowout or flaking at the exit point.
Step 8: Clean the Area After Drilling
Wipe away any slurry (a mix of dust and water) with a towel. Use a vacuum to remove remaining quartz dust and check the hole’s smoothness.
6. Safety Tips to Keep in Mind
- Wear protective gear: Always use safety glasses and gloves.
- Work in a ventilated area: Quartz dust is fine and can linger in the air.
- Avoid dry drilling: Always wet-cut quartz to reduce heat and airborne dust.
- Take breaks: Let your drill cool down if it feels hot to the touch.
7. Can You DIY or Should You Hire a Pro?
DIY if:
- You have experience with power tools
- The hole is small (e.g., soap dispenser)
- You have the correct bits and safety gear
Hire a pro if:
- You’re drilling large or multiple holes
- The quartz is expensive or custom-finished
- You’re nervous or uncertain about the process
Professional fabricators use commercial-grade wet saws and core drills, reducing the risk of cracking or chipping your investment.
8. Common Mistakes to Avoid
| Mistake | What Happens |
| Drilling at high speed | Overheats and cracks the resin in quartz |
| Skipping lubrication | Causes smoke, dulls bits, and risks slab damage |
| Not using a guide | Increases the chance of slipping or an off-center hole |
| Applying too much pressure | Leads to hairline cracks or full breakage |
| Starting with a large bit | Can chip the quartz on contact |
9. Frequently Asked Questions
Q: What kind of drill bit should I use on quartz?
A: Use a diamond core drill bit, preferably wet-rated for continuous lubrication.
Q: Can I drill a hole in quartz without cracking it?
A: Yes, if done correctly with low speed, water cooling, and even pressure.
Q: How long does it take to drill through quartz?
A: Depending on thickness and bit size, most holes take 5–10 minutes.
Q: Can I drill quartz countertops dry?
A: It’s not recommended. Dry drilling causes extreme heat, which can crack the quartz and degrade the bit.
10. Conclusion
Drilling a hole in a quartz countertop requires care, precision, and the right equipment. With proper planning—like using a diamond bit, steady cooling, and slow speeds—you can create clean holes for faucets, accessories, and fixtures without damaging your countertop.
While DIY is possible for small tasks, don’t hesitate to call a professional if you’re unsure. A single crack can be expensive, and hiring a fabricator could save both time and money in the long run. With the correct approach, you’ll have a beautiful, functional quartz countertop that continues to perform and impress for years.