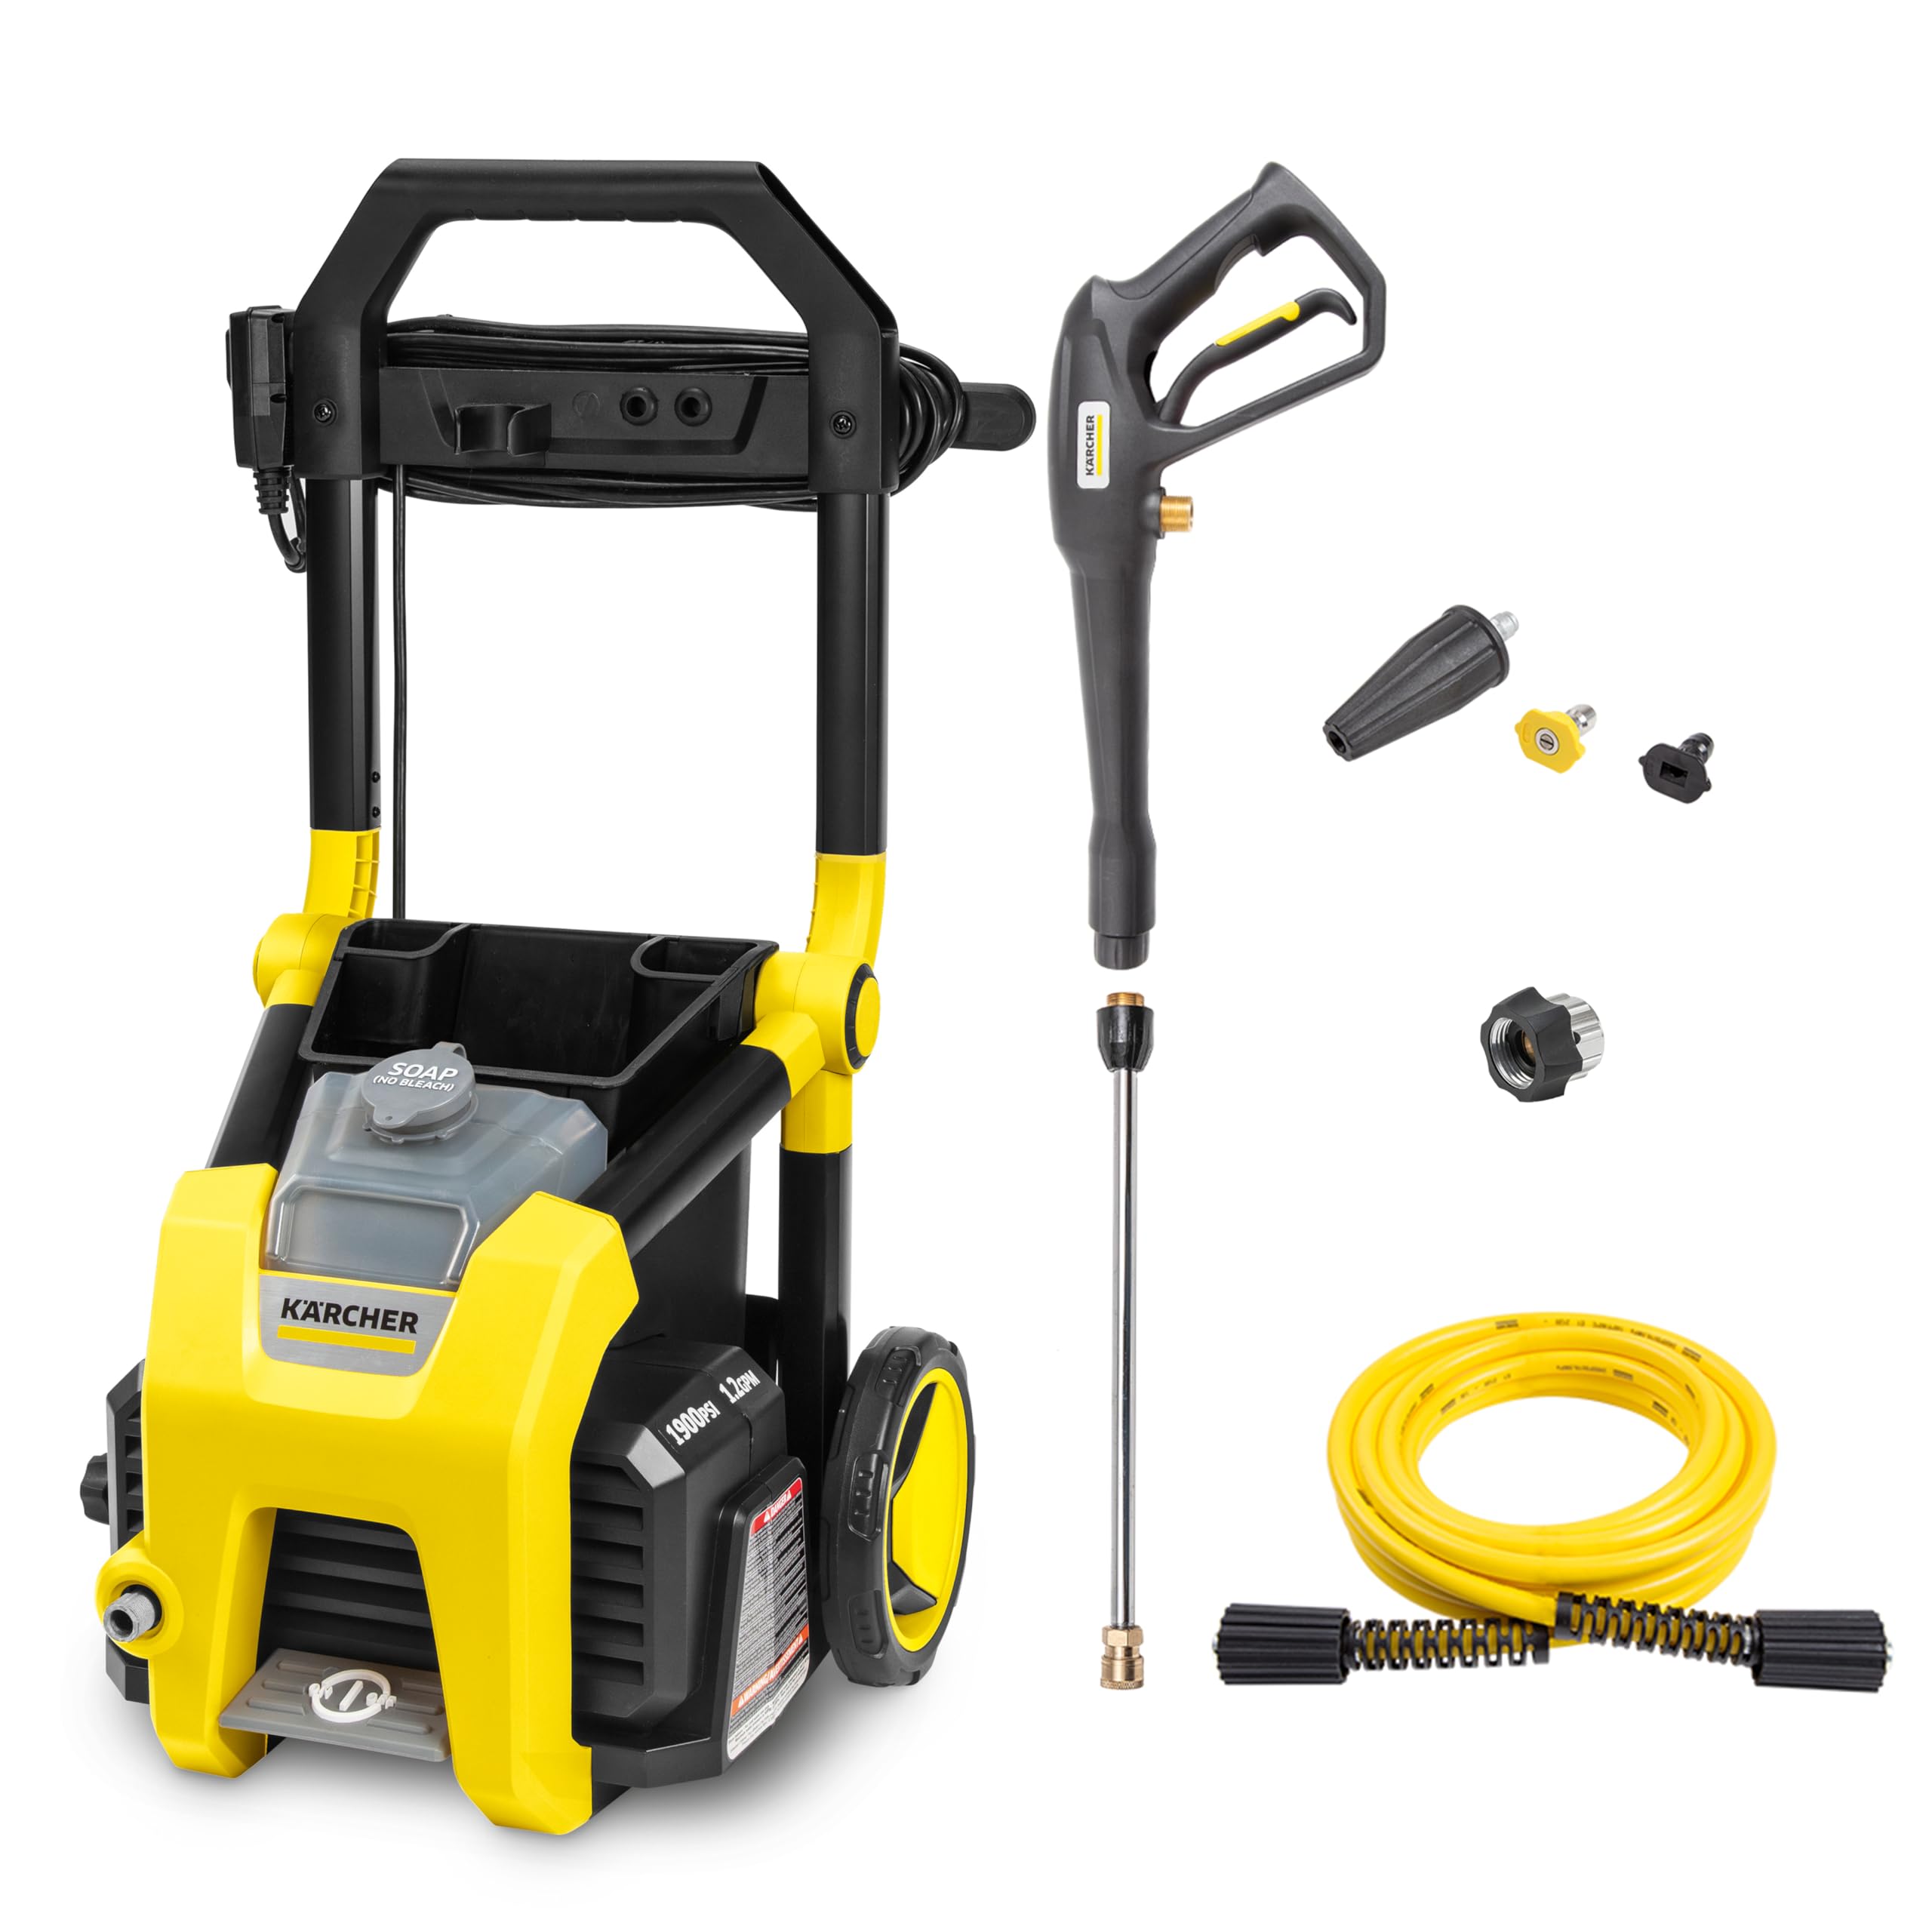
Taking apart your Karcher pressure washer wand is not just about pulling pieces apart. It helps you keep your wand in good shape, catch early signs of wear, and make sure you are getting full water pressure before your next big cleaning job. This guide will walk you through the whole process from the tools you need to the final checks using safe and easy-to-follow steps.
What You Will Need
Tools
- Medium flat-head screwdriver
- Phillips screwdriver (#2)
- Adjustable wrench (6–10 inches)
- Needle-nose pliers
- Torx bit set (T15–T20 fits most models)
- Soft nylon brush
Extra Supplies
- Silicone O-ring grease (must be non-petroleum)
- Replacement O-rings and seals (get the right ones for your model)
- Clean, lint-free cloths
- Small tray or magnetic bowl for parts
- Mild soap and water (for cleaning grime)
- Safety gloves and glasses
Know Your Wand First
Before you start, it helps to understand the main parts:
- Nozzle Connector: Holds the spray tip; may be quick-connect or screw-on.
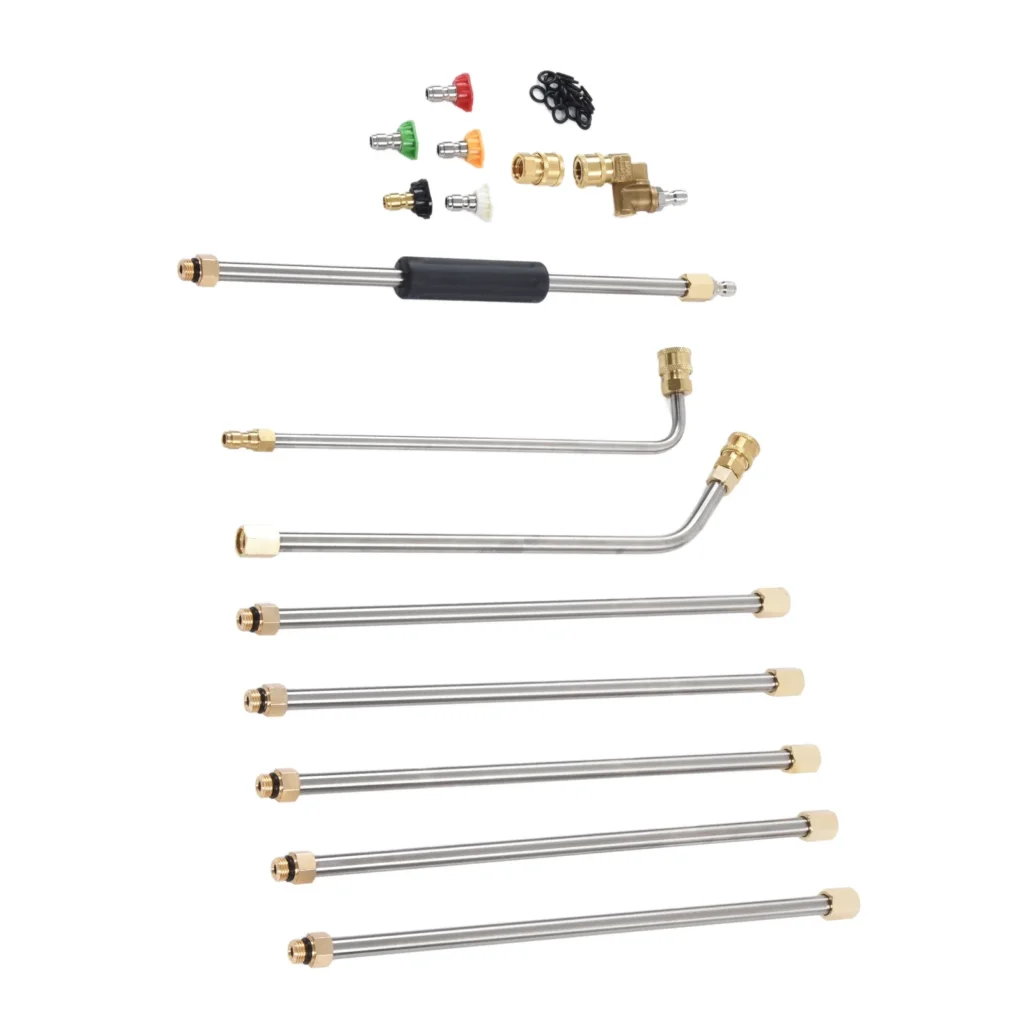
- Lance (Extension Tube): Directs water safely away from your hands.
- Trigger Gun Coupling: Connects the wand to the trigger gun.
- Internal O-Rings and Seals: Keep the wand leak-free.
- Valve and Spring (some models): Control water when you press the trigger.
Common Wand Types

| Type | Use | Features |
|---|---|---|
| Vario Power | Regular cleaning | You can twist it to change pressure |
| Dirtblaster Turbo | Tough dirt | Rotating nozzle for powerful spray |
| Extension Lance | High places | Adds extra reach (16–24 inches) |
Knowing which wand you have helps you spot what to expect when opening it.
Get Ready Before Taking It Apart
- Turn It Off and Disconnect Everything
Unplug the washer or turn off the engine. Squeeze the trigger to let out trapped pressure, then remove the hose. - Drain Leftover Water
Point the wand down into a bucket and squeeze the trigger again. This stops surprise sprays when you open it. - Set Up a Clean Space
Lay down a white towel or cardboard on a table. Small parts like O-rings are easier to see this way. - Take Pictures Before You Start
Use your phone to take quick photos of each joint. This will help you remember how to put it back together.
Step-by-Step: Taking the Wand Apart
Step 1: Remove the Wand from the Trigger Gun
- Turn the bayonet coupling a quarter-turn counter-clockwise.
- Pull it straight out (do not wiggle it, or you might damage the O-ring).
Step 2: Take Off the Lance
- If your wand is one solid piece, skip this step.
- Hold the lance and wand firmly.
- Use your wrench to loosen the collar (half a turn should do it).
- Slide the lance off and set it aside.
Step 3: Open the Trigger Housing (If Your Model Has It)
- Find the Torx screws and remove them in a criss-cross pattern.
- Carefully open the housing—springs might pop out.
Step 4: Remove the Nozzle Connector
- Unscrew or unclip the nozzle end.
- Keep washers and spacers in order so you can put them back right.
- Use pliers to gently pull out the nozzle seat.
Step 5: Check the O-Rings and Seals
- Slide off each O-ring and inspect it for cracks or wear.
- Compare with the new ones in your seal kit.
Step 6: Clean and Lubricate
- Use a nylon brush and mild soap to scrub inside parts.
- Rinse and dry everything fully.
- Add a light layer of silicone grease to O-rings and threaded areas.
Time Needed: For first-timers, this should take about 30–40 minutes.
Common Problems You Might Find
| Problem | What It Means | What to Do |
|---|---|---|
| Water leaking at trigger | Damaged O-ring | Replace and grease it |
| Pressure drop | Clogged nozzle | Clean it or replace the tip |
| Wand stuck | Mineral build-up | Soak in warm vinegar and loosen |
| Trigger feels rough | Sand inside | Clean thoroughly and replace seals |
Fix these now to avoid doing this all over again later.
Putting It Back Together
- Do Steps in Reverse Order: Use your photos to guide you.
- Start Threads by Hand: This helps you avoid stripping them.
- Tighten Screws Evenly: Especially when closing two-part housings.
- Final Test: Hook up the wand, start your washer on low, and check for leaks.
Keep Your Wand in Good Shape
| Task | How Often | Why It Helps |
|---|---|---|
| Check O-rings and nozzle | Every 25 hours | Prevents leaks |
| Deep clean inside tube | Twice a year | Stops calcium build-up |
| Grease seals | Every time you open it | Keeps seals soft and working well |
| Replace worn tips | When spray weakens | Brings back full power |
Quick FAQ
How do I take the wand off the washer?
Turn it off, squeeze the trigger to release pressure, twist the bayonet a quarter-turn, and pull it straight out.
Why is my wand leaking?
It likely has a worn O-ring. Replace it, grease it lightly, and reattach.
Can I clean inside the wand?
Yes. After taking it apart, use a soft brush with mild soap, rinse, and dry.
How often should I service it?
Twice a year (spring and fall) is ideal for regular home use.
What tools do I really need?
A Torx bit set, screwdrivers, wrench, pliers, and O-ring grease cover most jobs.
Final Thought
Taking care of your wand gives you better spray, fewer problems, and a longer life for your pressure washer. Set aside a little time, follow these steps, and you will be ready to clean like a pro—without surprise leaks or sudden breakdowns. Good luck and happy cleaning!


