Table of Contents
- Is DIY Quartz Installation Right for You?
- Tools & Materials Checklist
- Quartz Countertop Installation: Step-by-Step
• Space Preparation
• Template & Accurate Measurement
• Dry-Fitting the Slab
• Cutting Sink & Cooktop Openings
• Reinforcing Cabinets & Supports
• Applying Adhesive
• Setting & Leveling the Slab
• Sealing All Visible Joints
• Securing Sinks & Cooktops
• Final Clean-Up & Inspection - Common Mistakes to Avoid
- Post-Installation Care Tips
- Applications Beyond the Kitchen
- Frequently Asked Questions
- Conclusion
1 – Is DIY Quartz Installation Right for You?
Quartz slabs weigh 20 – 25 lbs per square foot; a large island can exceed 400 lbs. Before you commit:
- Manpower: Two strong helpers and suction lifters are essential for safe handling.
- Tool skill: You’ll operate diamond blades, angle grinders, and caulking guns—proficiency is crucial.
- Warranty impact: Many brands cover factory defects only when certified fabricators handle the work—confirm first.
- Hidden costs: Tool rentals, quality adhesive, shims, and safety gear can add hundreds to your budget.
2 – Tools & Materials Checklist
| Category | Items Needed |
| Measuring & Layout | Tape measure, laser level, carpenter’s square, ¼ in. plywood or cardboard for templates |
| Cutting & Shaping | Circular saw with continuous-rim diamond blade, angle grinder with polishing pads, water-feed or spray bottle |
| Handling | Double-cup suction lifters, padded sawhorses, heavy-duty gloves |
| Installation | 100 % silicone or color-matched quartz adhesive, two-part epoxy for seams, 2 in. painter’s tape, plastic shims, clamps |
| Finishing | Denatured alcohol, microfiber cloths, razor scraper, clear or color-matched caulk for backsplash |
Pro tip: Dry-fit every sink, faucet, and cooktop before the slab arrives—retro-cutting quartz in place is far harder than adjusting cabinets.
3 – Quartz Countertop Installation: Step-by-Step
3.1 Space Preparation
- Shut off water and power to sinks, dishwashers, and cooktops.
- Remove old countertops and backsplashes carefully to protect cabinet frames.
- Check cabinets for level; they should vary no more than ¹⁄₁₆ in. over eight feet.
- Add ¾ in. plywood sub-tops if cabinets lack full support.
- Clear a staging path wider than the slab and protect floors with rosin paper or moving blankets.
3.2 Template & Accurate Measurement
- Lay ¼ in. plywood strips along cabinet edges.
- Hot-glue cross braces so the template lifts off as one piece.
- Mark sink centerlines, overhangs (standard 1 ¼ in.), and faucet holes.
- Label the template clearly (front/back, left/right).
3.3 Dry-Fitting the Slab
- Place the slab on padded sawhorses face up.
- Position the template and trace cut lines with a wax pencil.
- Test-fit the full slab on cabinets before cutting; minor wall bows may be absorbed by adjusting reveals.
3.4 Cutting Sink & Cooktop Openings
- Wear eye, ear, and silica-rated respiratory protection.
- Drill pilot holes with a diamond hole saw at each corner.
- Connect holes using a circular saw cooled with water to prevent resin scorch.
- Round internal corners with an angle grinder—sharp corners invite cracks.
- Dry-fit appliances for a snug but stress-free fit.
3.5 Reinforcing Cabinets & Supports
- Install steel L-brackets under spans wider than 24 in.
- For overhangs beyond 10 in., add concealed countertop brackets or corbels rated for at least 300 lbs each.
3.6 Applying Adhesive
- Clean cabinet tops with denatured alcohol.
- Run continuous ¼ in. beads of silicone 2 in. from edges and around cutouts.
- Mirror those beads on the underside of the slab where it meets cabinet rails.
3.7 Setting & Leveling the Slab
- With helpers, lower the slab onto cabinets, aligning overhangs.
- Gently press to seat into silicone—avoid pounding.
- Use plastic shims to correct any low spots, confirming level in both directions.
3.8 Sealing All Visible Joints
- Tape both slab edges to protect finished faces.
- Mix and apply two-part, color-matched epoxy.
- Draw slabs together with seam-setting clamps until a uniform ¹⁄₃₂ in. gap remains.
- After gel-time (about 20 minutes) razor-scrape excess epoxy and remove tape.
- Lightly polish the seam with a 400-grit diamond pad.
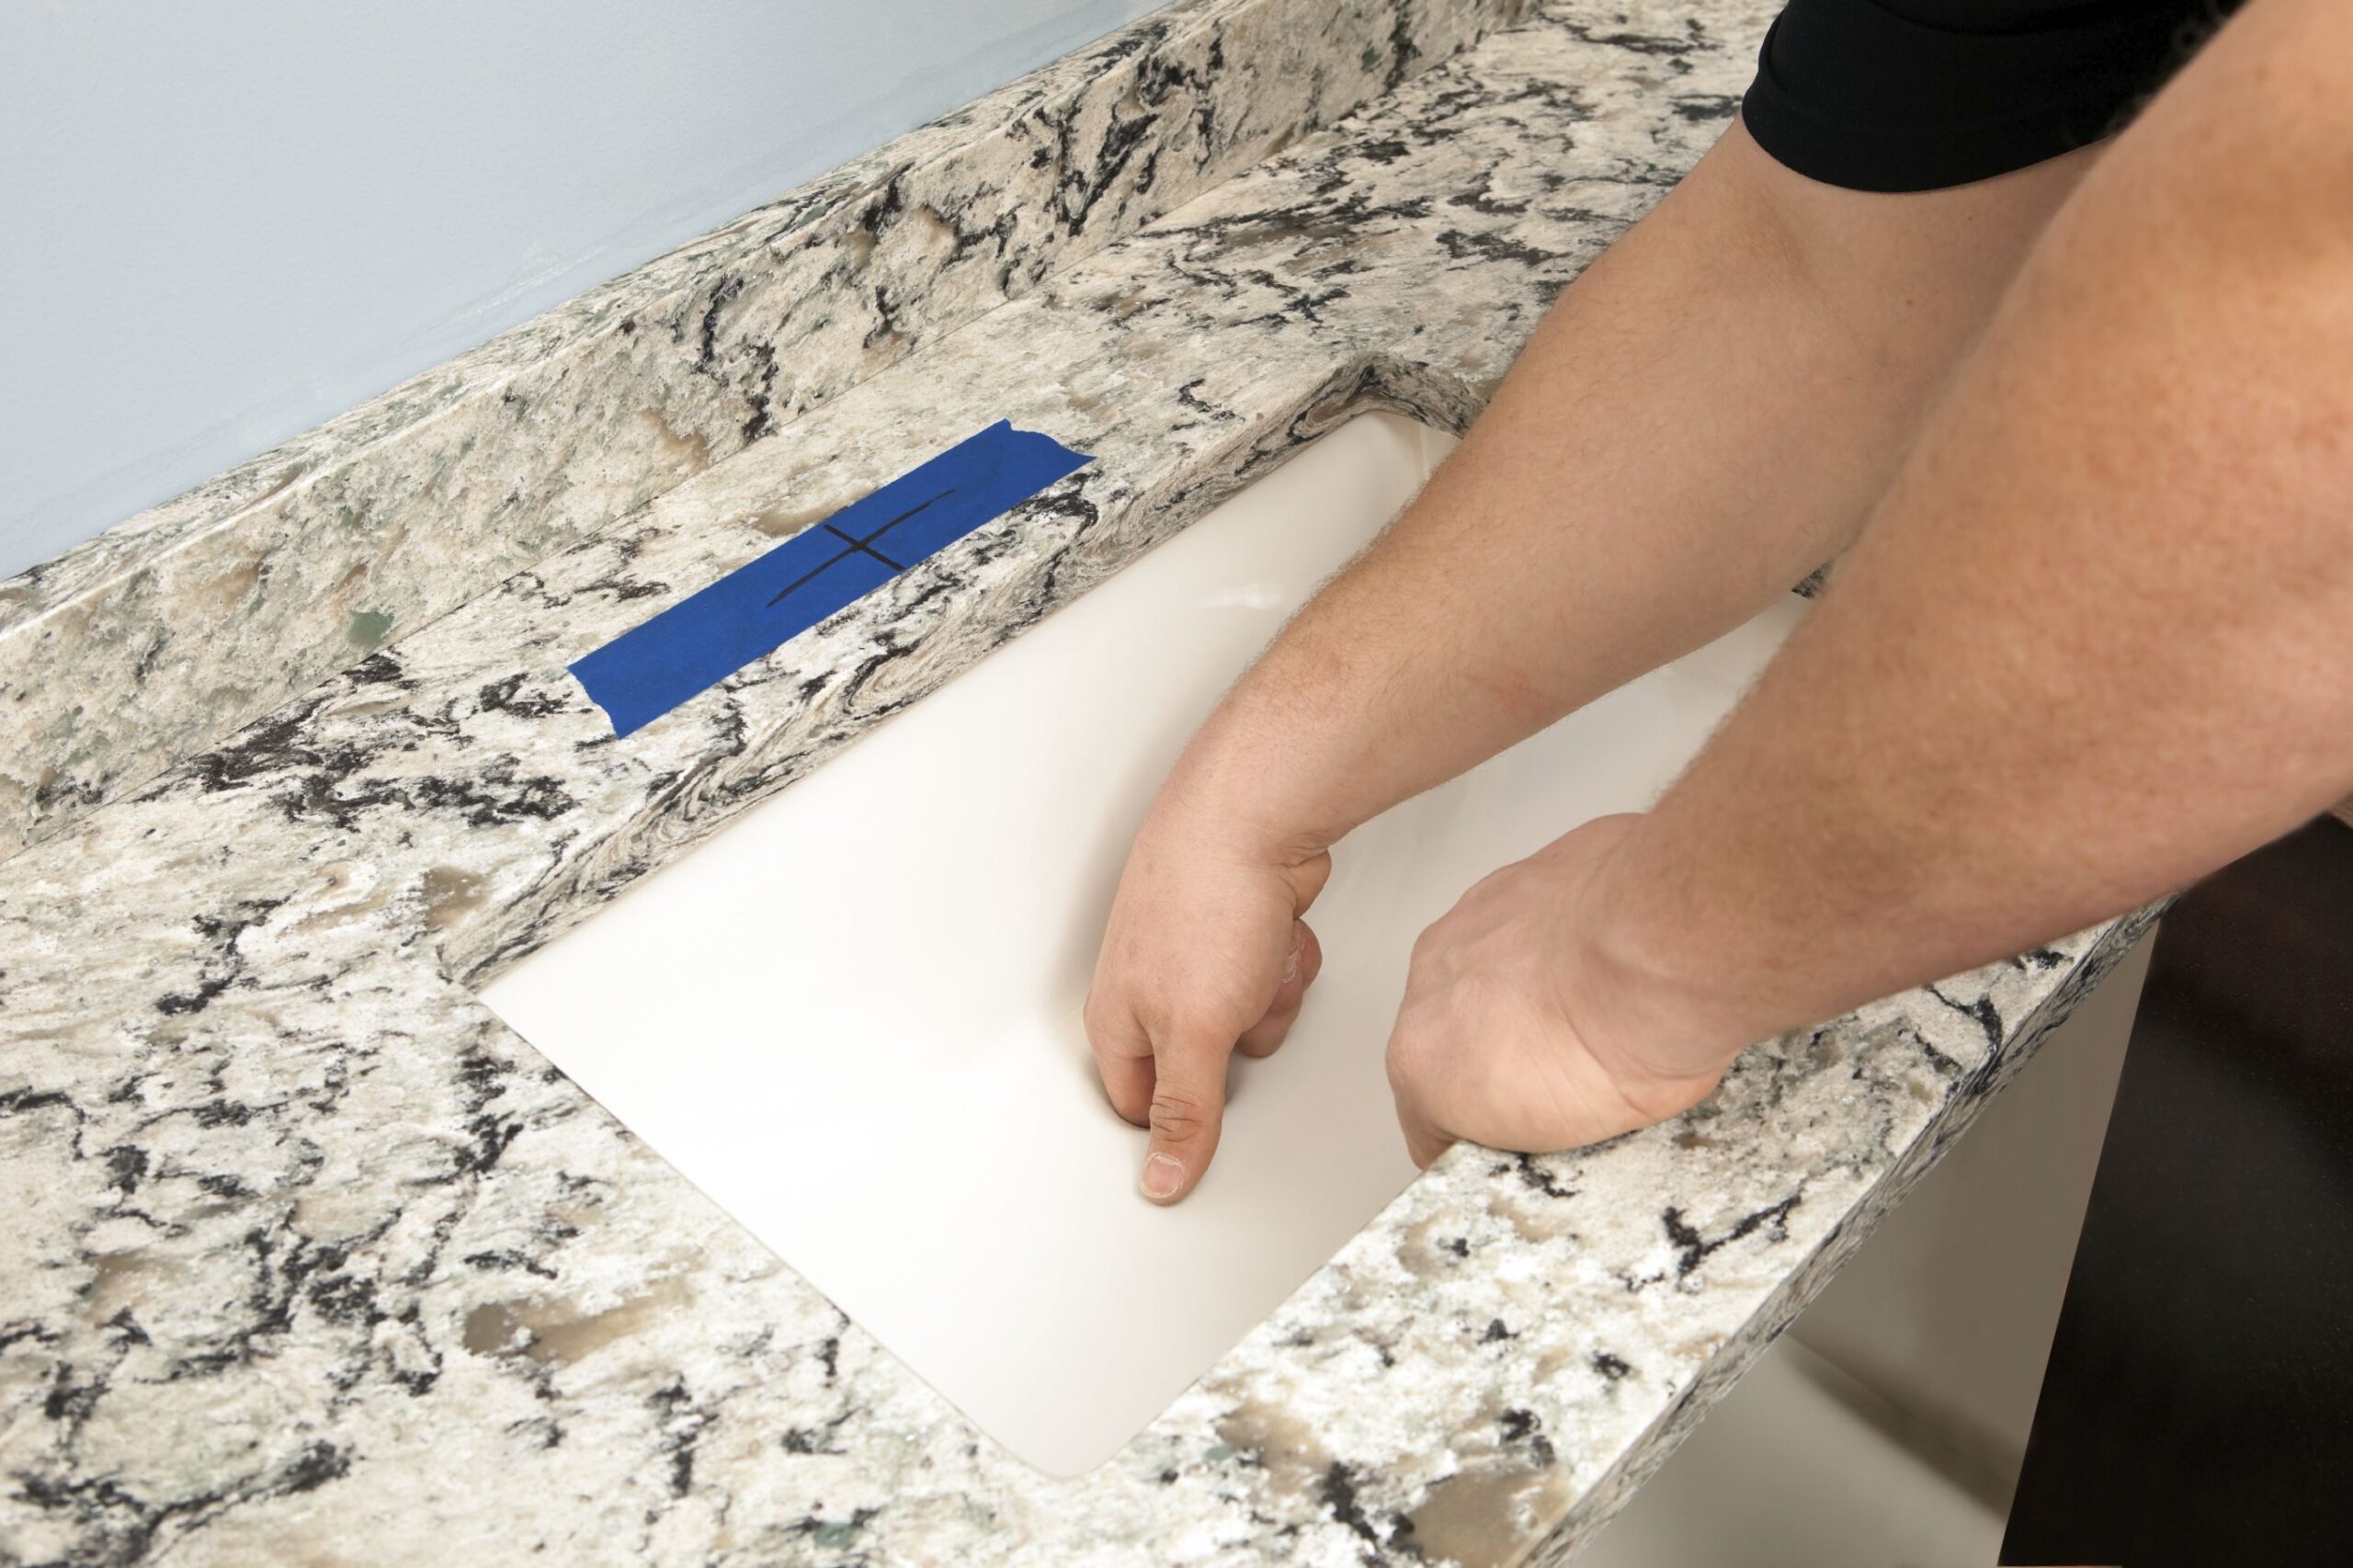
3.9 Securing Sinks & Cooktops
- Undermount sink: Apply silicone to the flange, center under the cutout, and clamp until cured.
- Drop-in units: Bed lips in silicone, press evenly, and clean squeeze-out.
- Reconnect plumbing and power after 24 hours.
3.10 Final Clean-Up & Inspection
- Remove pencil marks with denatured alcohol.
- Buff surfaces with microfiber cloths.
- Check seams for lippage—anything thicker than a credit card needs re-polishing.
- Photograph the install for your records and any warranty documentation.
4 – Common Mistakes to Avoid
| Mistake | Consequence | Prevention |
| Skipping cabinet leveling | Stress cracks later | Shim or plane cabinets before setting |
| Dry-setting without a test fit | Misaligned sink reveals | Dry-fit with templates first |
| Using construction adhesive | Discoloration or bonding failure | Only use 100 % silicone or approved adhesive |
| Overtightening seam clamps | Hairline fractures | Tighten just until epoxy oozes out |
| Dragging the slab | Scratched cabinet faces | Lift fully, never slide |
5 – Post-Installation Care Tips
- Wipe daily with mild dish soap and water.
- Use trivets for cookware hotter than 150 °C (302 °F).
- Always cut on boards—quartz dulls knives and can show metal marks.
- Blot spills quickly; though quartz is non-porous, pigments can cling to residue.
- Deep-clean quarterly with a quartz-safe spray, then rinse.
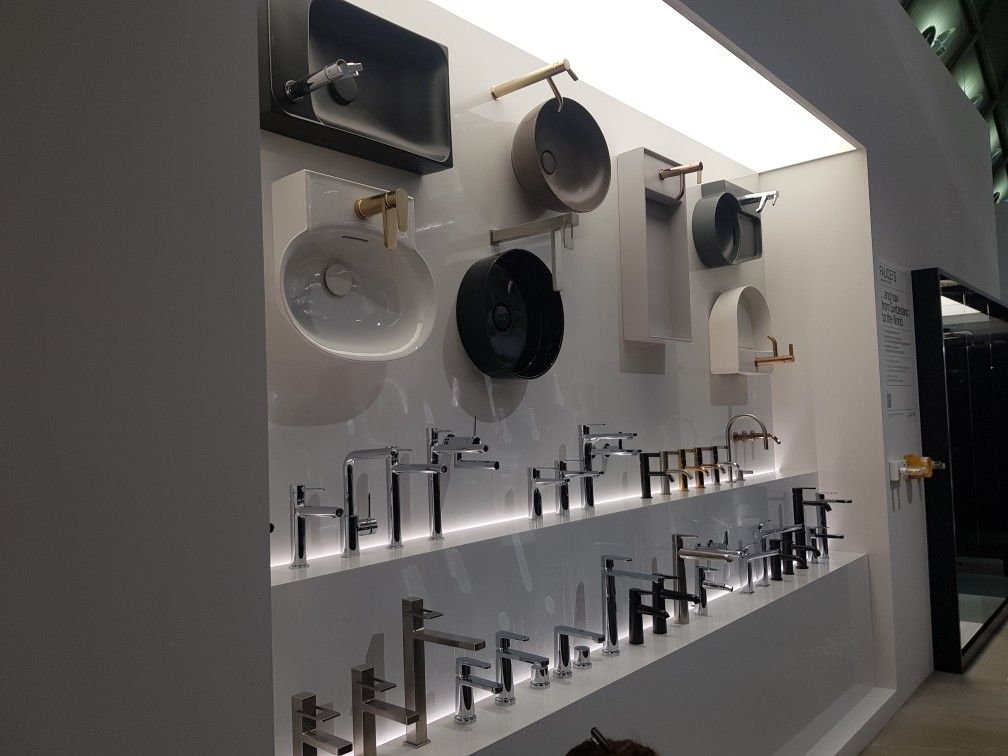
6 – Applications Beyond the Kitchen
- Bathroom vanities with integrated sinks.
- Laundry and mudrooms for detergent and mud resistance.
- Home bars where acids from wine or citrus are common.
- Desktop surfaces made from off-cuts.
- Outdoor kitchens (covered) using UV-stable quartz grades.
7 – Frequently Asked Questions
Can I install quartz over existing laminate?
Removing laminate and adding a sturdy plywood sub-top yields a stronger, longer-lasting installation.
How can I disguise a seam on a long run?
Book-matched slabs, aligned veining, and a perfectly matched epoxy tint minimize visibility.
What blade works best for cutting?
A continuous-rim diamond blade rated for engineered stone minimizes chipping—keep it cool with water.
Is sealer required afterward?
No. Quartz is manufactured as a non-porous surface.
When can I fix the backsplash?
Wait 24 hours for countertop adhesive to cure fully, then install backsplash tiles or a quartz upstand.
8 – Conclusion
Installing quartz countertops takes planning, precision, and muscle but rewards you with a durable, stain-resistant surface that elevates any space. Follow each critical stage—preparation, templating, dry-fitting, accurate cutting, correct adhesion, seam sealing, and thorough inspection—to achieve professional-quality results and long-term performance.